
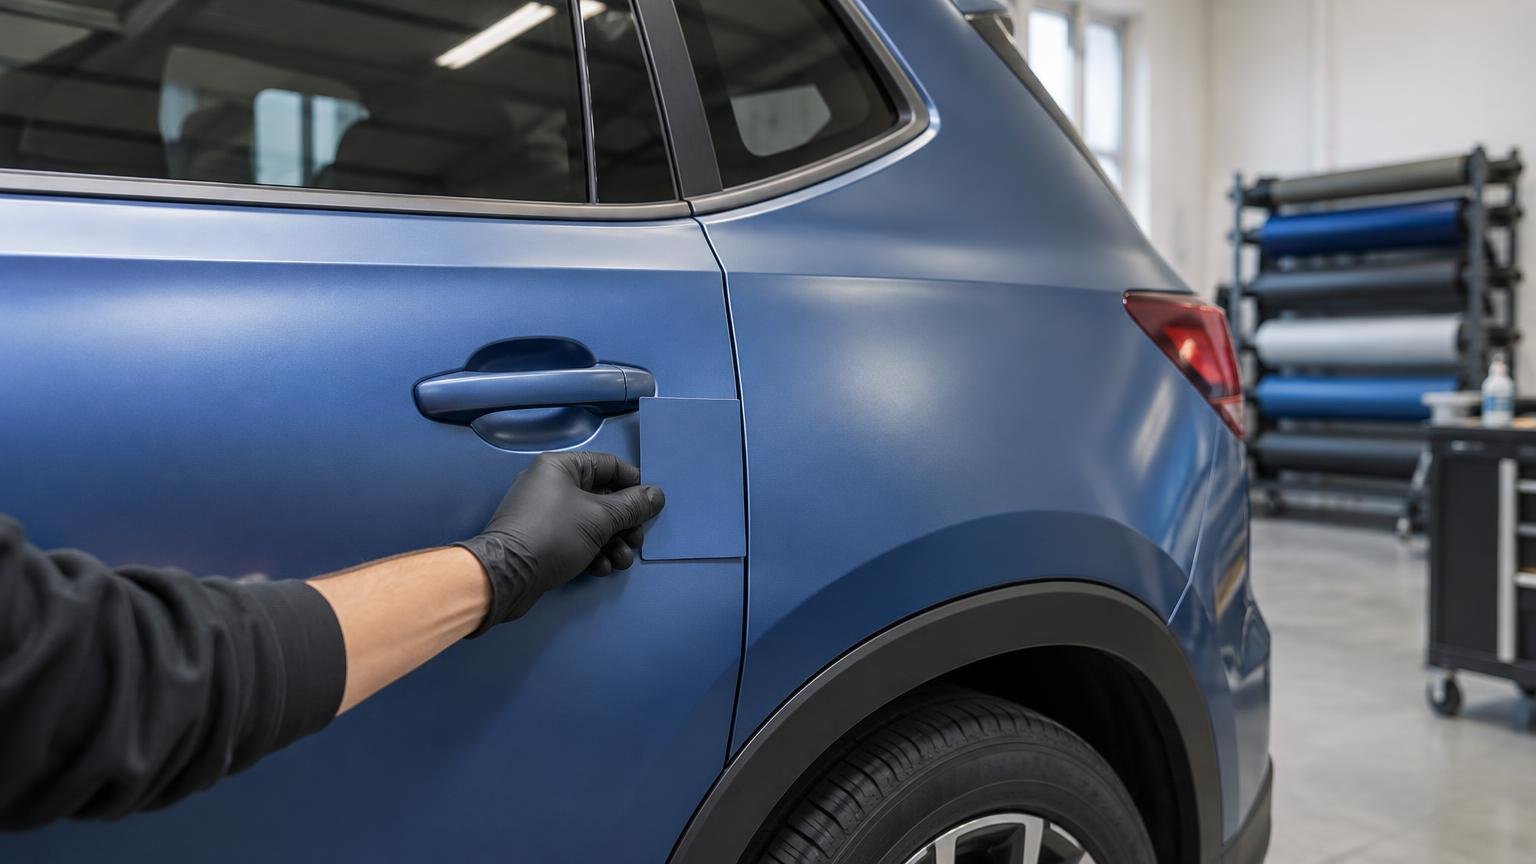
A one-panel wrap replacement can be successful, but the realistic goal is a controlled, acceptable match—not a guaranteed invisible repair. Start by identifying the existing film, documenting how the vehicle has aged, and comparing an actual sample beside the cleaned adjacent panels. The same manufacturer, product series, color name and finish provide a useful starting point, but they do not settle the appearance match.
Manufacturing-lot variation, sun exposure, heat, cleaning practices and normal surface change can all make fresh film look different from film already on the vehicle. 3M specifically warns that a partial replacement may differ because of manufacturing lots, the age and condition of the remaining wrap, fading, or gloss change. It recommends considering replacement of an entire graphic when appearance continuity is important. 3M’s wrap maintenance bulletin also says visible differences are likely after repair.
Identify the Existing Film Before Ordering Anything
Do not begin with a color name alone. Names such as gloss black, satin gray or metallic blue describe broad appearances, not a complete production identity. Record as much of the original installation as possible:
- Film manufacturer and exact product family
- Color name, color code and finish
- Roll, lot or batch number, if retained
- Installation date and installer
- Original panel layout and seams
- Film orientation on the vehicle
- Laminate identity for printed graphics
- Repair, coating and maintenance history
The original invoice, installer records, leftover labeled material and photographs taken during installation may provide these details. ORAFOL instructs installers to use film from the same batch for one application and retain an unused labeled sample for documentation and reference. ORAFOL’s car-wrapping guidance explains those controls. Avery Dennison likewise notes that slight color shifts can occur between rolls or production lots and recommends using the same production lot when multiple rolls are required.
Even a retained offcut is a reference, not an automatic match. A sample stored indoors has not experienced the same ultraviolet exposure, heat, washing or contamination as the installed wrap. Its value is that it confirms the original material and provides another comparison point.
Separate Film Damage From Substrate Damage
Determine whether the problem stops at the vinyl. A scrape that only marks or tears the film may call for removal and replacement of that component’s wrap. A dent, rust, cracked filler, peeling paint or damaged clear coat requires a separate body and paint assessment.
New vinyl will follow the surface beneath it; it will not flatten a dent or stabilize failing paint. Body-filler repairs should be properly sanded and primed, and newly applied paint or clear coat must cure according to the paint manufacturer’s requirements before installation. For more detail on that decision, see when scratches, dents, rust, and peeling paint must be repaired before wrapping.
This distinction also affects removal risk and project timing. The wrap installer should not be expected to hide unresolved body damage, while the body shop needs to know that another adhesive film will be installed over the repaired area.
Compare Real Film Beside the Vehicle
An online swatch or product photograph cannot approve the match. ORAFOL cautions that colors shown on its product pages may not be a complete match for the actual material. A better assessment uses a physical sample placed directly beside clean, dry installed film.
Inspect the candidate in daylight, shade and the artificial lighting the vehicle commonly encounters. View it straight on and from oblique angles. Gloss, satin and matte surfaces reflect their surroundings differently, so a sample that looks close from one position may separate sharply as the viewer moves.
Direction matters with some specialty films. 3M instructs installers to preserve the original direction when patching metallic-flake film. ORAFOL calls for lengthwise and crosswise test strips when effect pigments may change with orientation. Avery Dennison warns that ColorFlow, carbon-fiber and brushed-metallic products can show visible color or finish variation when installed in different directions.
Marking the film direction before removing the damaged panel can prevent a correct product from being installed in the wrong orientation. If the direction is unknown, compare sample pieces in both directions before approving the work.
Let Adjacent Panels Decide the Scope
The replacement panel is not viewed in isolation. A new door sits next to an older fender and another door; a new hood meets both fenders; a roof may be surrounded by glass and trim that visually separate it from the body. Those boundaries determine how obvious a difference will be.
| Condition | Practical scope to consider |
|---|---|
| Strong body line, trim break or isolated panel | Replace the complete wrapped component and inspect the result beside adjacent film. |
| Replacement directly touches large, similarly colored panels | Compare samples carefully and price the option of replacing adjacent components. |
| Pronounced fading, gloss loss or contamination across the vehicle | Consider a larger section or complete rewrap rather than promising a one-panel match. |
| Printed commercial graphic crosses the damaged panel | Reproduce the full affected graphic section using retained production settings and approved color references. |
Replacing a complete door, hood or fender usually creates a cleaner boundary than applying a small patch in the middle of a panel. It also gives the installer proper edges for finishing the new material. It does not, however, make the neighboring wrap younger.
Horizontal areas deserve particular scrutiny because hoods, roofs and trunks can receive prolonged outdoor weathering. Sun and heat exposure, atmospheric contamination, cleaning and maintenance all influence wrap appearance over time. A replacement hood may therefore stand out more than a similarly aged vertical door repair.
Printed Graphics Require Production Matching Too
For printed vehicle graphics, identifying the base film is only part of the job. Repeat output also depends on the printer, ink set, media, laminate, color profile, print mode, panel plan and approved color references. Changing one of those variables can alter color or sheen even when the artwork file has not changed.
The best starting point is the original production provider with retained files and job settings. If those records are unavailable, the replacement becomes a new color-matching exercise rather than a simple reprint. Our guide to RIP software and repeat vehicle-graphics production explains why the artwork alone does not preserve the original output.
Approve the Match and Scope in Writing
Before installation, the owner and installer should agree on what is being replaced and what level of variation is acceptable. The work order should identify the candidate film, affected components, substrate repairs, sample approval, film direction, planned seams and whether adjacent panels are included.
Photograph the approved comparison under useful lighting and record any visible difference. This does not turn a subjective decision into a guarantee, but it gives both parties the same reference. It is also worth reviewing the applicable manufacturer warranty rather than assuming a repair inherits the original coverage. 3M states in its maintenance bulletin that repaired graphics are not warranted.