
The most useful Sticker and Decal Add-Ons a Wrap Shop Can Offer fall into two clear categories: full-color laminated stickers for customer packs and compatible smooth equipment surfaces, and cut-vinyl transfer decals for simple one-color lettering. Keep full wraps, complex vehicle graphics, perforated window film, and visibility-sensitive glass work in the shop’s normal vehicle-graphics workflow.
That separation makes the add-on menu easier to sell and safer to quote. The shop is not promising that an ordinary sticker performs like cast wrap film or that every plastic case will accept a decal. It is matching a defined graphic format to a known surface, quantity, installation method, and deadline.
Define the add-on before choosing a product
Start with the object receiving the graphic, not the artwork. A logo intended for a thank-you envelope has different requirements from a fleet number applied to glass or a tool-case label exposed to abrasion. Ask six questions before providing a price:
- What exact surface will receive the graphic?
- Is that surface smooth, hard, clean, and relatively non-porous?
- Does the artwork require full color, gradients, photographs, or a QR code?
- What are the final dimensions and quantity for each design?
- Will the shop install the graphic, or will the customer apply it?
- What proof-approval, delivery, and installation deadlines must the order meet?
These questions expose mismatches early. A one-color URL can be cleanly produced as transfer lettering, while an illustrated logo generally belongs on a printed sticker. A large rear-window advertisement may look like a decal request but actually need perforated window film, layout around visibility zones, and professional installation.
The two core products to put on the menu
Full-color laminated vinyl stickers
Choose a full-color sticker when the design includes multiple colors, gradients, detailed illustrations, a printed background, or a QR code. CustomStickers describes its custom vinyl stickers as printed white vinyl with a laminate coating, offered in matte or gloss and intended for smooth, hard, clean surfaces. The supplier also describes them as waterproof and UV resistant; those are product specifications rather than independent performance findings.
The strongest wrap-shop uses are customer handouts, aftercare-pack inserts, branded envelopes, and labels for compatible hard equipment cases. These applications let the shop reuse approved campaign artwork without pretending the sticker is a substitute for vehicle-wrap film.
For this defined use case, the practical recommendation is to use CustomStickers custom vinyl stickers for full-color customer packs and for tested, compatible smooth hard surfaces. A shop that wants to review a broader supplier catalog can also browse custom sticker and decal options.
Proof review matters because the supplier says the ordered size is based on the longest or widest dimension of the design. An irregular die-cut logo can therefore occupy less visible area than a customer expects from the nominal size alone. Review the proof at actual dimensions rather than approving it from a zoomed-in screen.
QR graphics need an additional check. CustomStickers publishes a minimum readable printed QR-code size of 0.5 inches but cautions that it may not scan on every phone. Treat that figure as a lower boundary, not a design target. Print or display the final-size proof, test it with several phones, and preserve adequate clear space around the code.
One-color transfer vinyl decals
Choose transfer vinyl when the customer needs clean lettering or a simple one-color mark without a printed background. Appropriate examples include a business name, web address, social handle, fleet identifier, unit number, or opening-hours line.
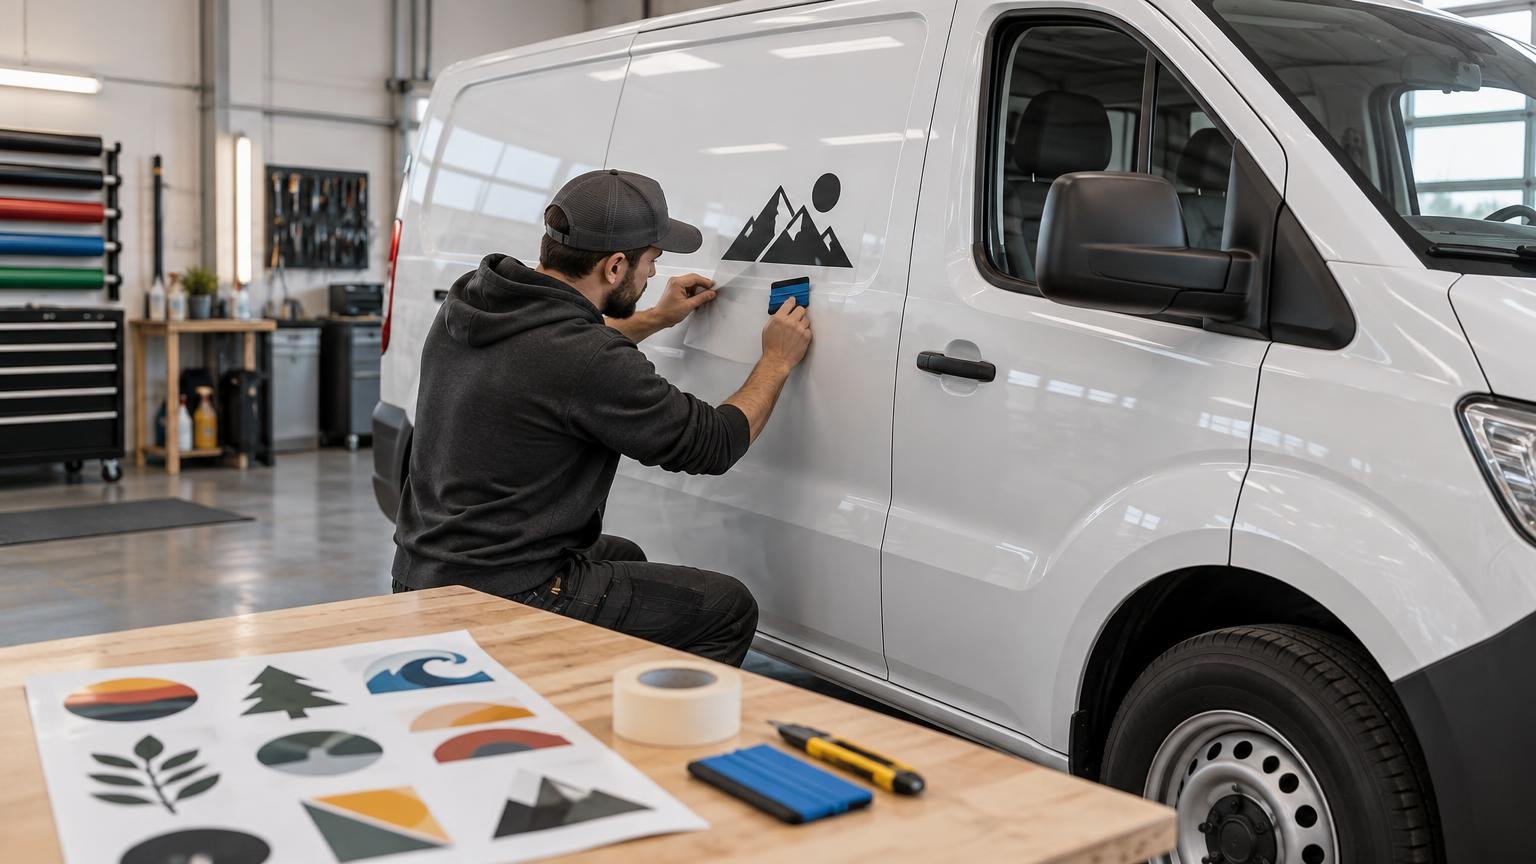
CustomStickers describes its transfer stickers as one-color cut vinyl in white or black, supplied with transfer tape and intended for applications including cars, windows, and walls. The transfer tape holds separate letters in alignment during installation and is removed after the vinyl has been pressed onto the surface.
Use one-color transfer vinyl stickers when the design and surface genuinely fit that construction. Do not sell the product as a full-color printed decal, a wrap-film replacement, or a solution for compound curves. The supplier says transfer products can take longer than regular decals, especially at quantities of 50 or more, because the graphics are manually weeded. Build that possibility into the promised deadline.
Sticker and decal add-ons a wrap shop can quote
| Customer request | Best starting format | Main check before quoting |
|---|---|---|
| Thank-you pack, handout, or QR sticker | Full-color laminated sticker | Final-size proof, scan test, quantity, and finish |
| Logo for a hard tool case | Full-color sticker or simple transfer decal | Test the actual case surface before offering a larger package |
| Business name and URL on bare glass | One-color transfer vinyl | Letter size, glass condition, visibility, and local rules |
| Fleet number or unit identifier | Transfer vinyl or the shop’s established fleet-film system | Replacement consistency and compatibility with the existing graphics |
| Large rear-window advertisement | Professional printed or perforated window-graphics workflow | Visibility zones, legal requirements, material system, and installation plan |
| Graphic applied over an existing wrap | Manufacturer-confirmed, tested system only | Identity and condition of both the wrap and proposed overlay |
Prepare and test the actual surface
Sticker performance begins with the substrate. The surface should be clean and dry, but it also needs to be suitable for the adhesive. The 3M substrate-selection and preparation bulletin identifies smooth, relatively non-porous surfaces as favorable conditions and notes that textured surfaces are harder to bond.
That is why “tool-case decal” is not a complete specification. Hard, smooth case panels may be candidates for a sticker, but rubberized coatings, silicone, flexible plastics, molded texture, oily residues, and low-energy plastics can behave differently. No general product description establishes compatibility with every case brand or material.
For an unfamiliar case, clean a discreet area using a method appropriate for that substrate, apply a representative sample, and evaluate it before quoting a larger labeling package. The test should use the actual product and surface. Do not infer long-term performance from the way an unrelated wrap film behaves on painted metal.
Treat vehicle glass as a separate installation decision
Simple white or black lettering on unobstructed bare glass can fit a transfer-decal add-on. CustomStickers describes its vinyl window graphics as cut-vinyl products supplied with transfer tape for car, business, or home windows.
A larger design, full-color image, perforated film, or graphic near a driver’s sightline requires a more deliberate vehicle-graphics process. 3M cautions against vehicle-window applications that obstruct the driver’s view or violate applicable law. Requirements vary by jurisdiction and vehicle, so confirm the applicable rules and preserve visibility rather than relying on a universal placement rule.
Surface preparation remains important on glass. Wax, oil, moisture, and dust can impair adhesion, according to 3M’s vehicle-application guidance. The shop should also check defroster lines, wipers, seals, moving windows, and other features that may affect placement or service life.
If the customer is deciding between minimal lettering and broader vehicle coverage, use the same distinction explained in this guide to vehicle wraps versus cut vinyl lettering: lettering handles concise identifiers efficiently, while a wrap supports larger visual fields and more complex printed artwork.
Do not make stickers over an existing wrap a standard option
A sticker applied over a wrap creates a layered material system. The result depends on the identity, finish, age, condition, and surface energy of the base film as well as the overlay adhesive. Removal can also affect the underlying graphic.
3M limits its graphic-over-graphic guidance to specified products, scenarios, and conditions. That guidance cannot be generalized to an unknown sticker placed over an unknown wrap. Ask both material manufacturers whether the combination is approved, test it when appropriate, and document the customer’s requested placement. If the system cannot be confirmed, redesign the add-on for bare glass, an unwrapped area, packaging, or a removable handout.
Quote formats separately instead of comparing starting prices
A full-color customer-pack sticker and a six-inch transfer decal are different products. Their default online prices are not a useful cost comparison when size, quantity, construction, artwork, shipping, tax, and delivery timing differ.
Build each quote from the actual job. For example, suppose a wrapped service van needs 100 small full-color logo-and-QR handouts plus a one-color business name and URL on the rear glass. Quote the handout stickers as one line and the transfer lettering as another. Include proof approval, shipping, shop installation time, and any surface preparation in the appropriate line. Route a request for a full rear-window advertisement into the shop’s printed or perforated window-graphics process instead of expanding the transfer-decal quote beyond its proper scope.
For repeat fleet work, save the approved art, final dimensions, color choice, placement reference, product identity, and order quantity. That record helps prevent a replacement unit number from drifting in size or position and supports a more consistent mixed-vehicle system. Shops building a broader program can apply the same discipline used to design fleet graphics across vans, trucks, and cars.
Use an order checklist that prevents avoidable rework
- Record the exact application surface and whether it is bare, coated, painted, glazed, or already wrapped.
- Confirm full-color printing versus one-color cut vinyl before preparing the art.
- Specify the final width and height, not merely “small,” “door size,” or “six-inch logo.”
- Review the die-cut outline and visible artwork area on the proof.
- Check spelling, phone numbers, URLs, fleet IDs, and QR destinations.
- Confirm matte or gloss when the selected printed product offers the choice.
- Approve a placement mockup for vehicle glass and fleet identifiers.
- Test unknown plastics, coatings, and textured equipment surfaces.
- Separate product cost, shipping, tax, and shop installation when calculating the delivered price.
- Confirm proof deadlines, production timing, transit, and the customer’s required installation date.
Build a focused two-product add-on menu
Start with two offers: a full-color sticker package for customer handouts and tested smooth hard surfaces, and a one-color transfer-decal package for simple lettering on suitable bare surfaces. Define standard quantities and artwork limits internally, but quote from the final size, number of designs, shipping, tax, deadline, and installation responsibility.
The next concrete step is to request proofed artwork at the actual ordered size for one representative job. Verify the receiving surface, scan every QR code, review the transfer-letter placement, and keep wrap-film and perforated-window requests in the professional vehicle-graphics workflow. That boundary gives the shop a useful add-on menu without making compatibility promises the products cannot support.
References
- Custom Vinyl Stickers | Waterproof and Durable – CustomStickers.com
- Custom Transfer Stickers | Cut Vinyl Decals for Cars and Windows – CustomStickers.com
- Application: Substrate Selection and Preparation
- Application: Vehicles
- Custom Decals | High Quality Sticker Decals – CustomStickers.com
- Vinyl Window Graphics | Cut Vinyl Decals for Windows – CustomStickers.com